

Replacing one image over another
Suppose that you want to place an image over another one in right perspective and position; traditionally for this, we copy one image and paste it over another image and then use transform, wrap or perspective tool to adjust it. You won’t be satisfied yet after spending quiet a long time as images doesn’t fit in right perspective through manual transforming and adjustments. We have a better alternative in Photoshop to ease this process in less time and with perfect
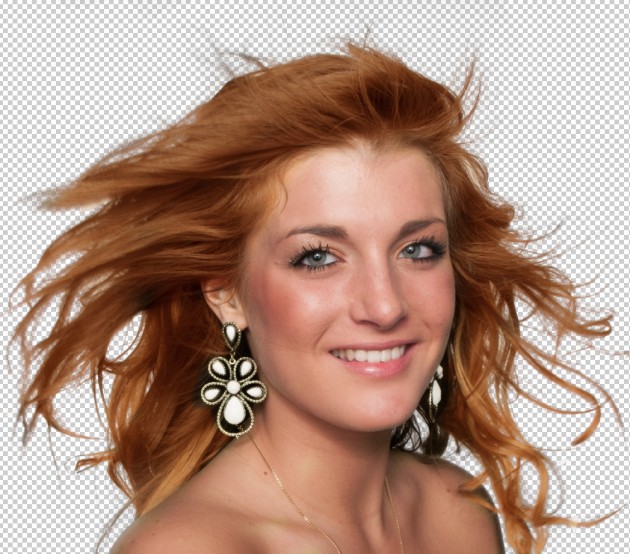
Quick steps to change hair color
If you are wondering about easy steps to change hair color in Photoshop, here are the rapid steps to get the desired result: Take already cutout model image and create a duplicate layer. Apply soft light blending option to the duplicate layer. Select a soft brush and apply required color only on the hair part of the model in the duplicate layer as in the sample shown below: Take the selection of the cutout model and remove the parts outside
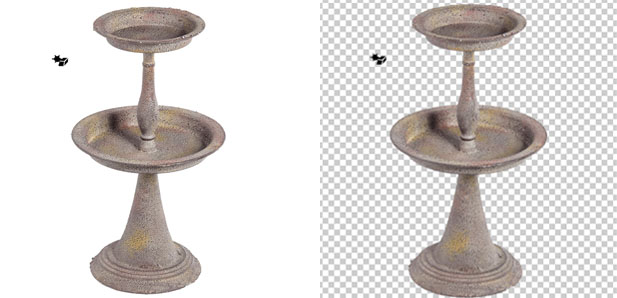
Swift method to cutout using Erase tool
The erase tool can be a very helpful tool to cutout images with the same color background. Especially if the image is intended to be used for web and doesn’t need high quality precision. For such images, cutout of images can be done with just a few clicks using this tool. However, if you are looking for a quick solution and require high quality output this is not the right tool. Use of the Magic Eraser Tool: Select the Magic
CS6 Feature – Content Aware Move Tool
We discussed the Content Aware Fill Tool in our previous articles while we elaborated on new features of CS5. Adobe has enhanced this feature and come up with the Content Aware Move Tool in CS6. This has made it even easier and faster to move any part of the image from position A to B. It’s really simple: make a selection around the selected part which needs to be moved. Make sure you leave some pixel outside. Then use the
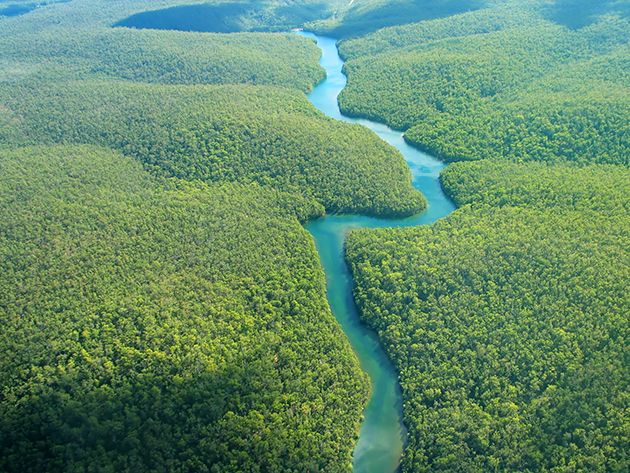
Grafioffshore
Designed by- Sharan Maharjan; Download: 1280 X 1024, 1440 X 900, 1680 X 1050, 1920X1200
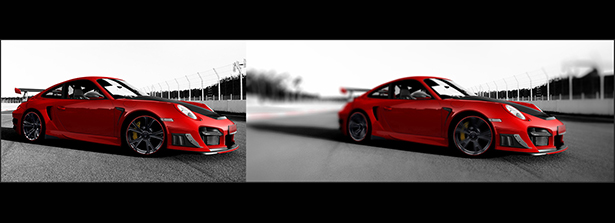
Create a Realistic Depth of Field
Every person wants to capture images as good as a Photographer but most of the image tend to be simple when captured. Adobe Photoshop has updated its new features Blur Gallery where photographers/ designers can simply manipulate an image such that focus is on particular subject as a result of depth of field. We can achieve different effects via Blur Gallery tools. Lets check out with an example. We have taken image of car as a sample. Go to “Filter > Blur Gallery > Field Blur “. A Blur tab pops up where you can adjust various blur effects. On Field Blur, click on the image to place blur field. You can add as many points as you like, here
Image Editing with Camera Raw Filter
Adobe has updated it Photoshop CC with the new feature of Camera Raw Filter. In past Camera Raw was used by Photographers for editing Raw Images. Now Adobe has introduces its new filter which can not only edit Raw/DNG, Jpeg or Tiff format but can edit in Layer type. Editing an image using different adjustment layers can take longer time / hard work where Camera Raw Filter stands alone for overall image editing in limited period of time. This can impact a huge difference in quality output. This filter can also be said as nondestructive filter as it be used on Smart Objects, preserving the original beauty of an image. Let’s begin by selecting an image on Photoshop, I selected