admin

Easy skin tone selection

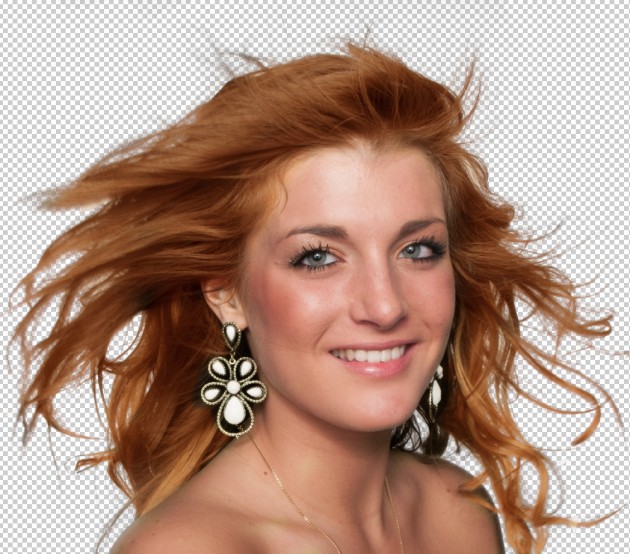
In our studio, we have to work most of the time with photos of people. Many times we are required to work on facial enhancements. This requires us to make selection of facial portion of the images. It was always manual process to select only the skin tone of such images for further retouch, color adjustments and facial enhancements. Quiet a tedious work!! Photoshop CS6 has come up with new option to ease this process. All we need to do is – go to color range selection > enable detect face option > from dropdown menu select skin tones and then increase or decrease the fuzziness slider as per our requirement. That’s it and you get the required selection for

Read More »

Using rubber band option with pen tool

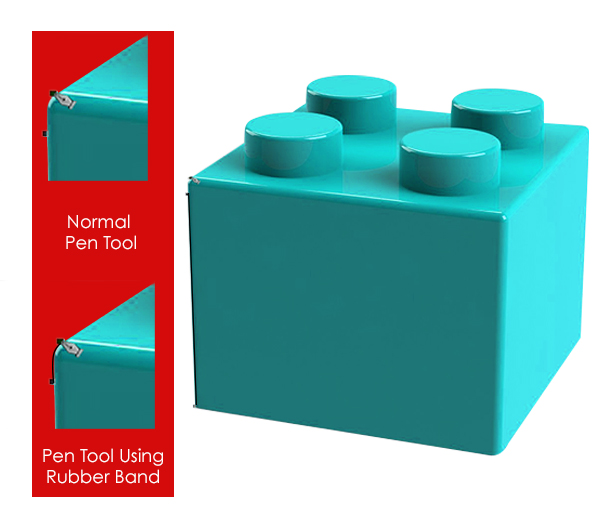
If you don’t use pen tool often in Photoshop, then making path with pen tool can be complex and time consuming cause you won’t know where your next anchor point should be. You might end up wasting lot of time and yet get final path with lot of anchor points with low precision. To avoid this, use Rubber Band option in Photoshop located in the drop down at the right of the Custom shape menu. Enable it and you get the preview how the lines and curves will line up while making selection with path. It makes creating path much easier and faster for anyone.

Read More »

Adaptive Wide Angle Filter

Many times while photographing image, we can’t capture as much area of the image as we desired due to the constraint of space. This forms rounded edges and bent lines in the captured images. In order to overcome this, we can use the new feature of Photoshop CS6 – Adaptive Wide Angle Filter. This filter helps to straighten the bent lines and curves of images taken with fisheye or wide angle lens. Here is an example how to use this filter option to straighten the bent lines: Raw Image: Choose Filter > Adaptive wide angle. In the right side, choose the “Perspective” from correction drop down menu. Using the constraint tool from the top left of the tool palette, draw

Read More »

Replacing one image over another

Suppose that you want to place an image over another one in right perspective and position; traditionally for this, we copy one image and paste it over another image and then use transform, wrap or perspective tool to adjust it. You won’t be satisfied yet after spending quiet a long time as images doesn’t fit in right perspective through manual transforming and adjustments. We have a better alternative in Photoshop to ease this process in less time and with perfect placement. Here is an illustration how to achieve it with the Vanishing point tool in Photoshop: Image 1: Image of monitor Image 2: Image of scenery Objective: Place Image 2 in the screen of Image 1. Solution in few steps:

Read More »

Quick steps to change hair color

If you are wondering about easy steps to change hair color in Photoshop, here are the rapid steps to get the desired result: Take already cutout model image and create a duplicate layer. Apply soft light blending option to the duplicate layer. Select a soft brush and apply required color only on the hair part of the model in the duplicate layer as in the sample shown below: Take the selection of the cutout model and remove the parts outside the selection. After that, in the duplicate layer; using masking or erase tool, remove the facial part other than the hair. You will get the final output. If you intend to adjust or change the color of the hair, with

Read More »

Swift method to cutout using Erase tool

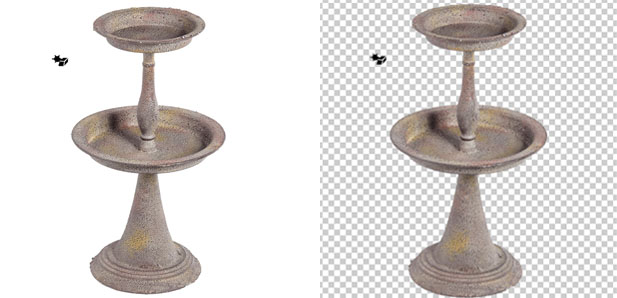
The erase tool can be a very helpful tool to cutout images with the same color background. Especially if the image is intended to be used for web and doesn’t need high quality precision. For such images, cutout of images can be done with just a few clicks using this tool. However, if you are looking for a quick solution and require high quality output this is not the right tool. Use of the Magic Eraser Tool: Select the Magic eraser tool, in any part of background. It will do its magic – remove the background color with one click (given image has only one background color). In case of multiple colors, you will need to repeat the process again.

Read More »