Easy Cutouts for web images with the Object Select Tool in Photoshop
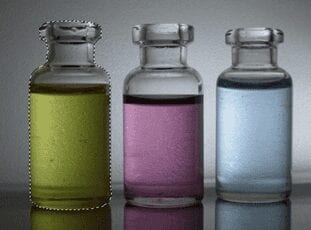
The “Object Select Tool” is a new and very handy feature in Photoshop CC 2020. It’s a great way to cutout an object quick and easy. Here’s how you can do it. The Object Select Tool The new “Object Selection Tool” can be found in Photoshop in the “Select and Mask” dialog box or you can it in the tool bar on the left, below the lasso. Rectangular selection and

Restyling your room’s walls & floors using Photoshop
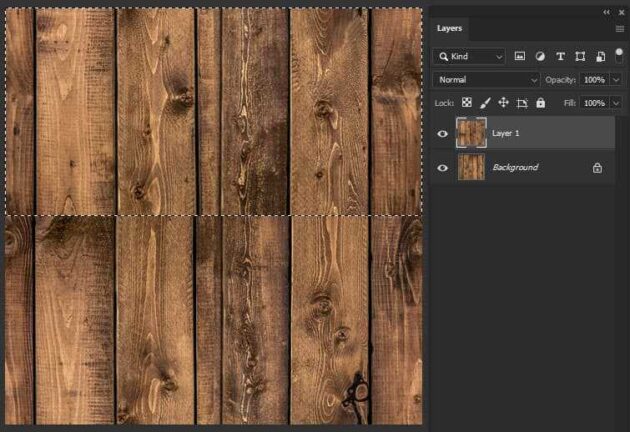
There may be times when you would like to imagine the walls of your house with new wallpaper and/or the floors with new tiles or parquet. Before you actually go ahead with the project, wouldn’t it be nice to actually see how the end result will turn out with your choices? This can be done by transforming a realistic image into a seamless pattern in Photoshop. In the past turning images into seamless repetitive patterns was a difficult job. Nowadays

High- End Clipping for Hair and Fur in images
Working on images that require high-end quality is quite complicated, unless one knows the tricks. For processing any images into design, image clipping is one of the first part that needs to be considered for the quality output.Usually most designs need a normal clipping of an image. But when it comes to high-end printing, detailing part is the most important thing to keep in mind.For processing / clipping the image, basic way of processing an image, at first is by

Shadows/Highlights Adjustment on Photoshop
The Shadow/Highlight command is one method for correcting photos with dark or dull images due to strong backlighting or correcting subjects that have been slightly washed out.The adjustment can also be used for brightening areas of shadow in an otherwise well‑lit image. The Shadow/Highlight adjustment that we are going to use is destructive in nature. So it’s better first to create a duplicate layer and then proceed. So press Ctrl+J/Cmd+J to duplicate your layer. Now go to Image>Adjustment>Shadow/Highlight. After clicking

Bit Depth
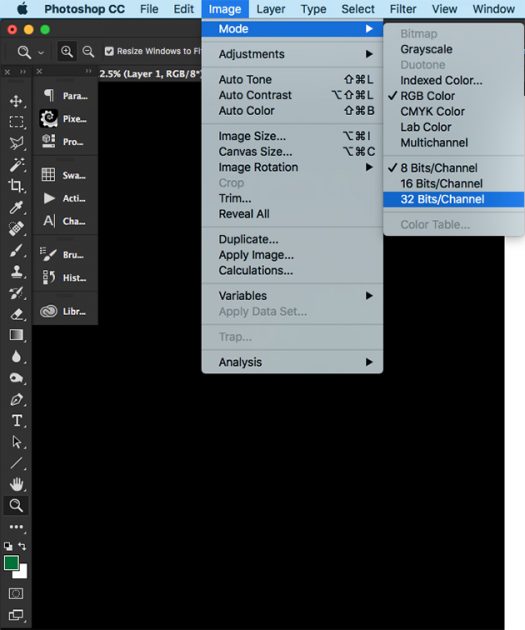
Bit Depth The word bit comes from two words, binary and digit. Bit depth refers to the color information stored in an image. Bit means it’s amount of tonal variation in the image. Understanding the tonal values within an image can help you obtain the best print possible. There are 3 type of bit depth on photoshop. 8-Bit Depth 8 Bit images have 256 colors.Each Color of an image in RGB (Red, Green, Blue) is created from a gradient
Convert a Low Resolution image into a High Resolution one using Photoshop CC
We encounter it regularly: icons or vector images, often PNG files, which are out of focus/granular. Especially vector images, which are icons in principle, should be infinitely scalable and therefore razor sharp. Fortunately, you can easily convert blurry, low-resolution images into a sharp vector file. How? You can read all about it in this article. As an example we take the PNG file below of 2 hands shaking each-other: As you see, the image is quite blurry / unsharp. To make it sharper, we do the following: Step 1: Open the image in Adobe Photoshop CC Open the image in photoshop CC 202o and unlock the layer.

Easily remove the background of an image with the ‘Quick Action’ tool in Photoshop 2020
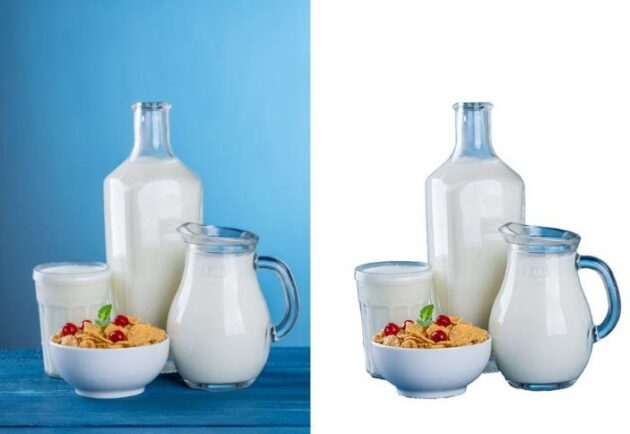
Quickly removing the background of an image, so the object or objects are cut out? The ‘Quick Action’ feature in Photoshop 2020 is quite good in removing the background for web cutout. It’s smart and efficient to work with. In this article we’ll explain how it works for images with a simple shape. Step 1: Open an image in Photoshop 2020. We use the image below of milk and cornflakes as a reference. Step 2: Make sure the image layer is unlocked. You can unlock the layer in the ‘layer’ panel. Do you see a lock right from the image? Click on it to unlock. Now you

