
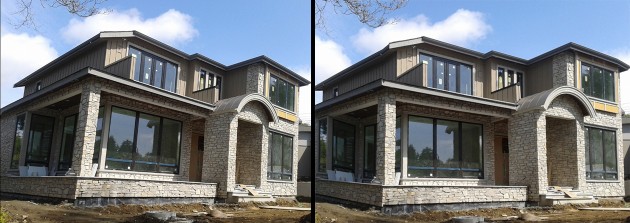
Perspective Warp in CC 14.2
All photographers do not get correct perspective in images whether it is a one point, two points or three point perspective photography. Every time re-shooting images to make the correct perspective isn’t an option. Photoshop CC 14.2 gives us a new feature as a solution to issue of perspective using a new 3D feature grids named as Perspective Warp. It is improvised feature of old tools like distort transform option, vanishing point etc. Let’s check out one example done with

Removing fringes while creating compositions
While cutting out or transforming images, some of the pixels surrounding the selection border are included with the selection; this can result in a fringe around the edges of the edited selection which results in low quality output on image manipulation. We can off course fix it with Pen Tool which guarantees best output but rather requires longer time and involves lots of hard work. So, for the quick result with quality intake; here are some simple steps that can

Blending modes in photoshop
Understanding blending modes in Photoshop is essential for image editing and manipulation. Blending modes in Photoshop CC determine how the pixels on one layer interact with pixels on lower layers and how painting tools interact with pixels already present on the active layer and layers below. It is one of the easiest and fastest ways to tweak and enhance photos. Applying these blending modes is very easy, experimenting with different modes is fun and easy as well. Here are some

Resize image using Fit Image
We often get resizing project from our clients where they ask to resize longest side of images to given size. When we have to do it for one image, we can always use image size option for this. But, imagine if we have to resize 1000 raw images (including both horizontal and vertical raw images) with longest side changed to 800 pixel maintaining proportions of images. Still use image size option? That will take really long time. There is a

Smart spot removal in CC
One of the interesting features in CC is its Camera Raw updates. With new camera raw update, we can now use this feature in any file format, even if image is not taken in raw format initially. Today we will be looking at new tool in camera raw dialog box – Spot removal tool which is useful in removing unwanted part of the image in just a few clicks. Before starting with it, convert your file to smart object and
Quick White Balance Correction in Camera Raw & Photoshop
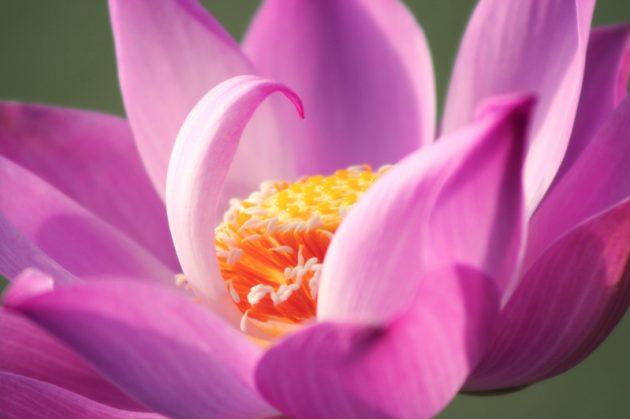
White balance is the process of removing unrealistic color casts, so that objects which appear white in person are rendered white in your photo. White balance in digital photography means adjusting colors so that the image looks more natural. We go through the process of adjusting colors to primarily get rid of color casts, in order to match the picture with what we saw when we took it. Raw Image from freeimages.com Camera Raw Method : Open your image in the Camera RAW editor then go Filter>Camera Raw Filter and select the “White Balance Tool” within the Tools bar at the top of the “Camera Raw” dialog box to adjust the white balance in camera raw images, click the “White Balance
Differences Between File Formats (PSD, TIFF, PNG, JPEG)
Photoshop users already know that there are various file formats in which the images can be saved. The file formats are there to cater the specific needs in terms of quality and use of the image. Here’s an insight into what the file formats stand for. Adobe Photoshop default (PSD) PSD file is a layered image file used in Adobe PhotoShop (PSD), which stands for Photoshop Document, is the default format that Photoshop uses for saving data. PSD is a proprietary file that allows the user to work with the images individual layers even after the file has been saved. TIFF (Tagged Image File Format) TIFF is a lossless file format which is popular among graphic artists, photographers, and publishers.