
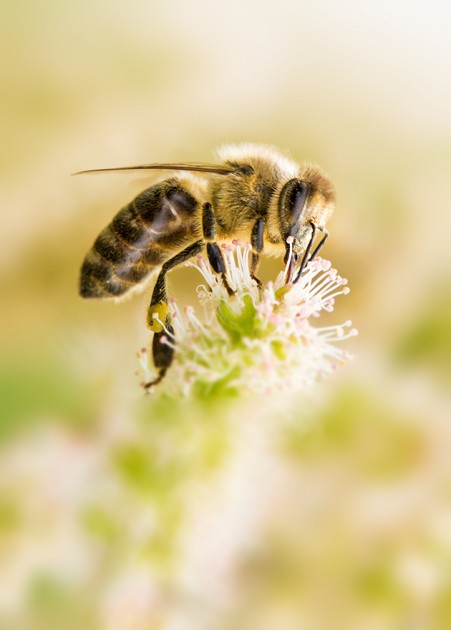
Using Iris Blur Filter in CS6
Last week, we discussed about Filter Blur. Today we will look into second type of blur available in filter option of CS6 – Iris Blur. In Filter Blur, we applied blur with the help of pins. In Iris blur, we again use similar multiple pins but here we have more control on how we want to apply the blur effect than in field blur. In each pin, we can define area covered, angle, density of blur to be applied and
Using Field Blur Filter in CS6
If you haven’t checked Field Blur yet, you are gonna love it. With this filter option, you can apply blur effect to only required areas of an image keeping other parts sharp / focused. It gives you flexibility to apply blur in the specified areas only using pins. One can apply as many pins as required in an image. You need to make sure that in blur area, pin should have value from 5% to 100% and in sharp area,
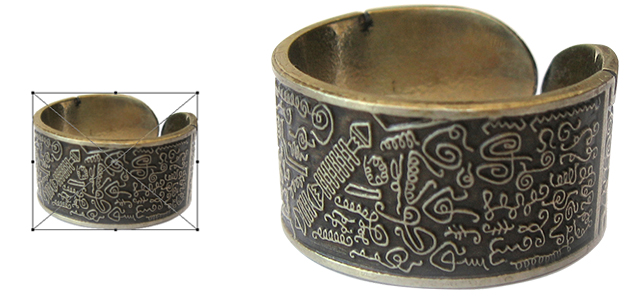
Re-sizing images maintaining quality
While using transform tool, you must have noticed that while transforming the image size – the quality of transformed image gets degraded. We can avoid this to certain extent and maintain the quality of the image using the smart object tool. If the same image is converted to smart object by clicking Image Layer – Right click and select convert to smart object, this converts the rasterized object to smart object and hence, when enlarged the quality of image doesn’t
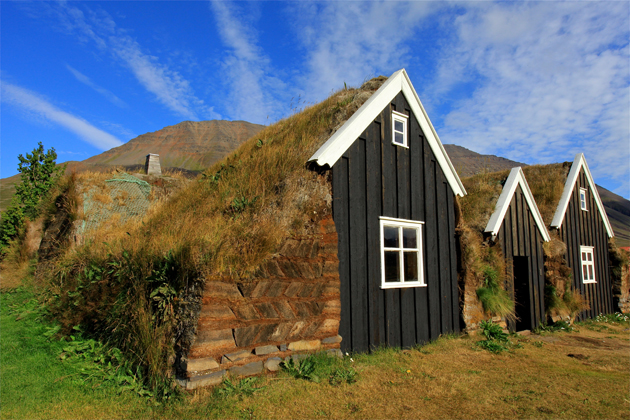
Perspective Crop Tool
Photoshop CS6 has reinvented its crop tool which will make its user fallen in love with it. With the added Perspective crop tool, it’s just matter of few clicks to change the perspective of certain part of an image. Let’s check this out with the example image below: Raw Image: Open the image and select Perspective crop tool from the crop tool menu option of the tool bar. Select area which needs to be cropped. Then click commit button or
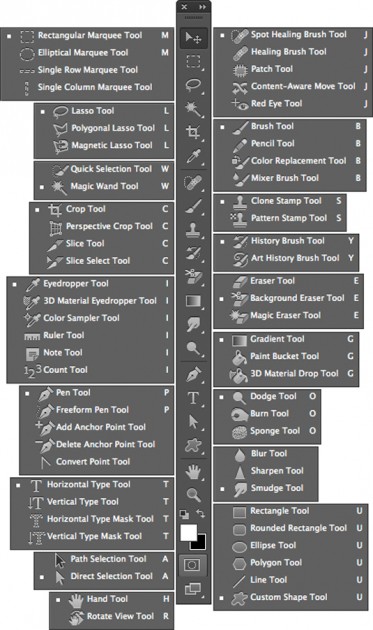
Useful Photoshop shortcuts
Adobe Photoshop CS6 has maintained all the features from the older version and added new features that help users to get better quality in less possible time frame. You might be familiar with all the features but not all shortcuts. Here is the list of useful shortcuts for both Mac and PC to work even faster than clicking through the tools. Tool palette through Shortcuts Useful shortcuts for other functions: Task Shortcut (Windows) Shortcut (Mac) Draw straight lines. Alt-click
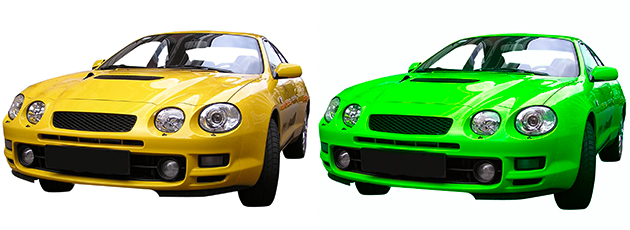
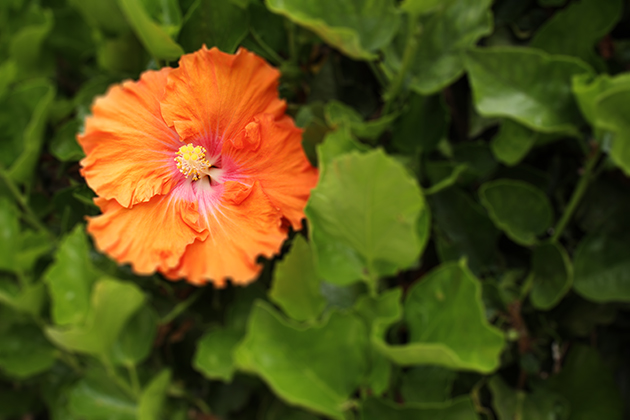
Quick Color Change Technique
Changing color of image is not a new thing we do in Photoshop. When we have to change color of image to specific color value, we often don’t get exact color shades in a product that we are looking for. To get exact value, we need to work around different tools like shadows, highlights, etc. In this article, we will look into a different technique to overcome this issue. This technique is more effective when we have to change image having different shades of same color. We have taken image of already cutout car as our sample. We will change yellow car to green car. Change color mode of raw file to lab color. In a different layer, make a
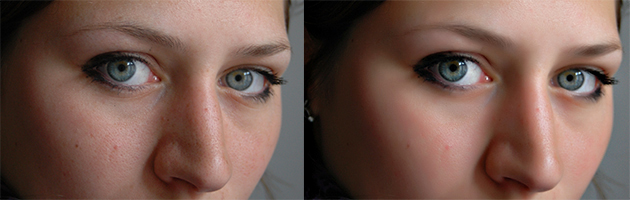
Quick Portrait Retouche
Everyone wants to look beautiful in their image but in reality it doesn’t happen while taking photos. Retouching each blemishes, spots and inequalities with healing, patch or clone tool is time consuming and hectic process. Today we will look at quick and better technique to retouch such images. We have taken image of a beautiful lady with disturbing skin pours and blemishes as our sample. Duplicate background layer as Layer 1 and convert it to smart object. Then go to Filter and apply surface blur with radius value around 30 and threshold value 31. You can adjust those values later again